
Many photographers obsess over eliminating grain by keeping ISO low. The reality of a dynamic light festival is that this often leads to blurry, unusable images. This guide re-frames the debate: a sharp, well-composed photo with acceptable grain is always superior to a clean but blurry one. We’ll show you how to master this crucial trade-off, from camera settings to strategic planning, so your shots capture the energy and detail of the event.
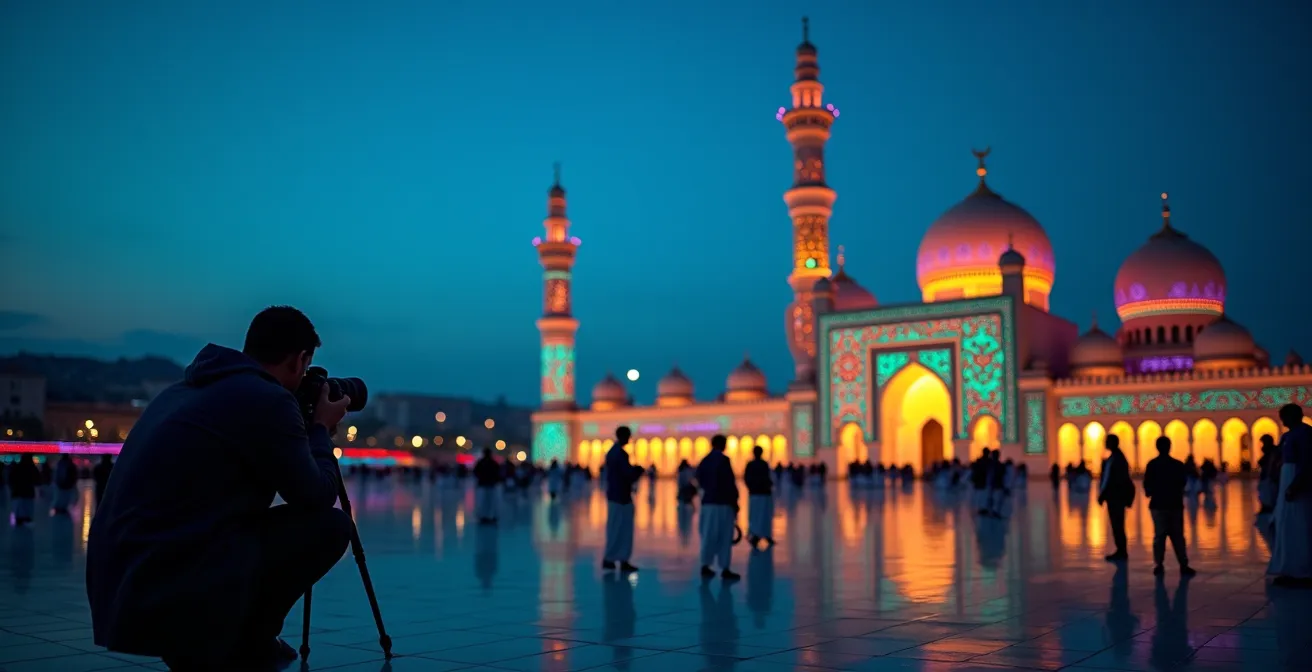
The pulsing energy of a light festival presents a tantalizing challenge for any hobbyist photographer. You see the vibrant projections washing over magnificent architecture, and you raise your camera, hoping to capture the magic. Yet, the resulting images are often a source of frustration: a blurry mess from a shutter speed that was too slow, or a sea of digital “grain” from an ISO pushed too high. The common advice is a constant drumbeat of “use a tripod, keep ISO low,” but this advice often crumbles in the face of moving crowds and dynamic, changing light shows.
The fear of grain is the single biggest inhibitor to great night festival photography. It forces photographers into a corner, leading them to sacrifice sharpness for a misguided pursuit of “cleanliness.” But what if the key wasn’t to eliminate grain, but to control it? What if the real goal was to master the art of the compromise, understanding that a sharp, focused image with a touch of filmic grain is infinitely more powerful than a soft, blurry, but technically “clean” shot? This is the core philosophy that separates good photographers from great ones in low-light environments.
This guide will move beyond the basic rules. We will deconstruct the exposure triangle not as a set of rigid laws, but as a fluid negotiation. We’ll explore strategic planning, handling difficult subjects, and finding unique perspectives. You will learn to make intentional, confident decisions that prioritize the story and impact of your image, transforming grain from an enemy into a controlled textural element. The goal is to equip you with the technical settings and, more importantly, the artistic mindset to finally capture the light festival as you experience it: sharp, vibrant, and full of life.
This article provides a comprehensive roadmap for the ambitious photographer. We’ll cover everything from logistical planning to avoid traffic, to the specific camera settings needed to photograph intricate patterns and moving subjects, culminating in a deeper appreciation for the art you are capturing. Follow along to transform your approach to night photography.
Summary: Photography at Night: Settings to Capture the Light Festival Without Grain?
- How to Plan a Route Between Venues to Avoid Corniche Traffic?
- Is the Light Festival Suitable for Toddlers Past Bedtime?
- How to Decipher the Islamic Geometric Patterns in the Projections?
- How to Visit the Museum of Islamic Civilization During the Festival?
- When to Arrive at Al Noor Mosque for the First Show?
- Sharjah vs Dubai Freehold: What Are the Restriction Differences?
- Shorts or Trousers: What to Wear in Sharjah vs Dubai?
- How to Teach Your Expat Kids About UAE Heritage Beyond School Books?
How to Plan a Route Between Venues to Avoid Corniche Traffic?
For a photographer, planning a route to avoid traffic is not about convenience; it is about protecting your most valuable asset: light. The magical “blue hour”—the period just after sunset when the sky holds a deep, rich blue—is fleeting. An effective route plan is a strategic timeline designed to place you at the right location during this optimal window. Your planning should begin days before the festival, using tools like PhotoPills or The Photographer’s Ephemeris to map the sun’s path and pinpoint the exact start and end times of golden and blue hour for each venue’s specific coordinates.
This pre-visualization allows you to build a route based on the progression of light, not just geography. Start at the easternmost venue to catch the first deep blues, then move westward, chasing the fading twilight. This strategic movement buys you precious extra minutes of ideal shooting conditions. Remember that according to photographers who specialize in this time of day, the entire blue hour lasts just 20-40 minutes, making every moment count. Factoring in a 10-15 minute buffer for setup at each location is non-negotiable.
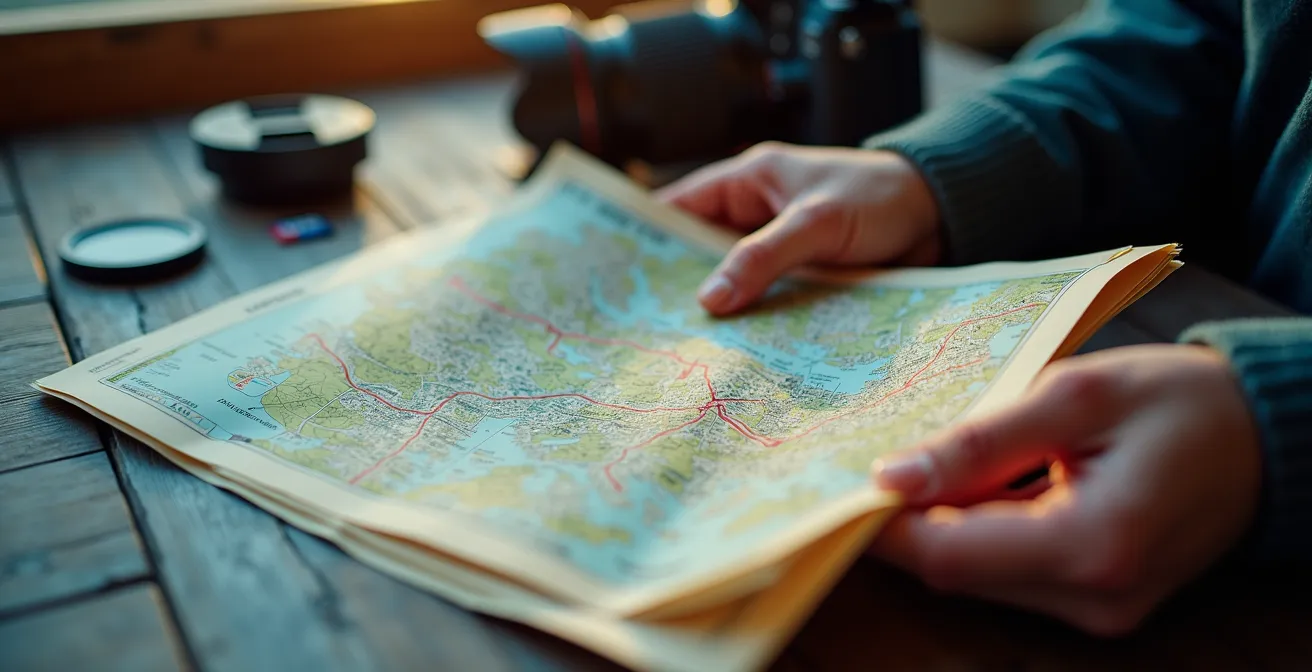
Your route map should be more than just directions; it should be a shot list. Mark your primary compositions, potential secondary shots, and even interesting “inter-show” subjects you can capture while moving between the main attractions. This level of preparation turns a potentially chaotic evening into a deliberate, productive, and ultimately more creative photographic mission. By conquering the logistics, you free your mind to focus entirely on composition and capturing the moment.
Is the Light Festival Suitable for Toddlers Past Bedtime?
From a parental perspective, bringing a toddler to a crowded, late-night festival is a significant challenge. From a photographic perspective, it is a masterclass in compromise. The unpredictable, fast movements of a small child in low light force you to confront the core dilemma of night photography: motion versus grain. To freeze the motion of an active toddler, you need a fast shutter speed—at least 1/250s, but preferably 1/500s. To achieve this in the dark, you have only two options: open your aperture to its widest setting (like f/1.8 or f/2.8) and drastically increase your ISO.
This is where many hobbyists hesitate, fearing the noise that comes with a high ISO. But the alternative is a blurry, unrecognizable subject, which is a failed photograph. A professional mindset embraces “acceptable noise” as a necessary by-product of a sharp, emotionally resonant image. As one guide astutely puts it:
Better to have a grainy image than a blurry one
– Jed Forster, A guide to blue hour photography
So, is the festival suitable? If your goal is a perfect, noise-free portrait, then no. But if your goal is to capture the genuine wonder in your child’s eyes as they see the lights, then yes—provided you are willing to push your camera’s ISO to 3200, 6400, or even higher. Use burst mode, get down to their eye level, and focus on capturing their expression as they face the light projections. The resulting image may have some grain, but it will also have life, sharpness, and a story to tell.
How to Decipher the Islamic Geometric Patterns in the Projections?
The intricate Islamic geometric patterns projected onto buildings are not just beautiful decorations; they are the primary subject. To “decipher” them with a camera is to translate their mathematical precision and vibrant color into a compelling two-dimensional image. This requires moving beyond a simple snapshot and thinking like an architectural or abstract photographer. Your goal is to capture the interplay between the projected light and the texture of the building’s surface. Forget the wide, all-encompassing shot for a moment and instead, hunt for details.
Use a standard or short telephoto lens (50mm to 100mm range) to isolate compelling sections of the patterns. Look for leading lines, repeating shapes, and symmetries that create a strong composition. The main technical challenge is exposure. The projections are incredibly bright against a dark sky, a high-contrast situation that can easily fool your camera’s meter. Use spot or center-weighted metering and aim it at a mid-tone color in the projection, not the brightest white or darkest shadow. Bracket your exposures: take one shot at the meter’s recommendation, one slightly under, and one slightly over. This ensures you have a frame where the colors are saturated but not “blown out” (clipped to pure white).

Shooting in RAW format is non-negotiable here. It gives you the maximum latitude in post-processing to recover highlight and shadow detail, fine-tune the white balance, and enhance the vibrancy of the colors. Think of your camera sensor as the canvas and the projected light as the paint. Your job is to capture the paint’s true color and form without letting it bleed off the canvas.
How to Visit the Museum of Islamic Civilization During the Festival?
Visiting the Museum of Islamic Civilization during the festival offers a unique photographic opportunity: capturing the dialogue between the permanent collection inside and the temporary light art outside. However, museum photography comes with its own strict set of rules and challenges. The first step, as one expert notes, is about “Understanding the ‘canvas’ before the ‘paint’ is applied.” This means scouting the location during the day if possible. Understand the lighting, the reflections on glass cases, and the museum’s policy on photography and tripods (which are almost universally banned).
Without a tripod, you must become a human stabilizer. Brace yourself against walls, columns, or display cases to minimize camera shake. Engage your lens’s image stabilization (IS/VR). This is another scenario where you must embrace a higher ISO to maintain a hand-holdable shutter speed. Your goal is to stay at 1/60s or faster to avoid blur from your own movement. This is a clear-cut case where a wider aperture lens (f/2.8 or lower) is a massive advantage. In the rare case that flash is permitted for a specific exhibit, it changes the entire equation, allowing for lower ISO and sharper results.
The following table, based on general event photography principles, outlines the two distinct approaches. Visiting during the festival likely means you’ll be in the “No-Flash” column, a situation that demands technical compromise.
| Setting | No-Flash Museum | With Permission |
|---|---|---|
| ISO Range | 1600-6400 | 400-800 |
| Aperture | f/2.8 or wider | f/4-f/5.6 |
| Shutter Speed | 1/30-1/60s | 1/125s |
| Stabilization | Brace against wall | Handheld possible |
This data, adapted from general principles for nighttime event photography, highlights the trade-offs. Without flash, your ISO must be significantly higher, demanding that you prioritize stability and sharpness over a noise-free image.
When to Arrive at Al Noor Mosque for the First Show?
The answer is simple: arrive before you think you need to. For a landmark location like Al Noor Mosque, arriving a minimum of 45 to 60 minutes before the first show is not just recommended, it is essential for any serious photographer. This time is not for waiting; it is for active preparation. It allows you to operate calmly during the precious moments of late civil twilight, or blue hour, when the ambient light is perfectly balanced with the artificial light of the cityscape.
Use this critical pre-show window to scout your territory. Don’t just plant your tripod in the first open spot. Walk the perimeter and identify at least three distinct compositions: a classic, straight-on architectural shot; a low-angle perspective that captures reflections in the water; and a compressed view using a telephoto lens from further away. Once you’ve chosen your opening position, set up your tripod, mount your camera, and dial in your test settings. A good starting point is f/8 for a deep depth of field, ISO 100, and a shutter speed determined by your camera’s meter. Take test shots of the unlit facade and adjust until you have a good base exposure.
This preparation means that when the show begins, you are not fumbling with settings. You are ready to shoot. The first ten seconds of the projection are often the most dramatic; use burst mode to capture this initial burst of light. This methodical approach ensures you not only capture the main event but also the beautiful, atmospheric moments that precede it.
Your Pre-Show Photography Checklist
- Scout Vantage Points: Identify three distinct compositions (e.g., low-angle reflection, straight architectural, telephoto compression).
- Arrive Early: Be on location a minimum of 45-60 minutes before the first show to capture the blue hour.
- Set Up and Test: Establish your tripod at your primary location and dial in your base exposure settings on the unlit facade.
- Capture the Burst: Use continuous shooting mode during the first 10 seconds of the light show to capture the initial dramatic burst.
- Shoot the Atmosphere: Don’t wait for the show; photograph the gathering crowds and the mosque during the beautiful twilight before it begins.
Sharjah vs Dubai Freehold: What Are the Restriction Differences?
While a discussion of freehold property law may seem far removed from photography, it touches upon a critical element for capturing unique festival shots: access to elevated vantage points. For a photographer, the “restriction differences” are not legal but physical. Gaining access to a high-rise balcony, office window, or rooftop—often found in freehold developments—completely transforms your creative possibilities. It elevates you above the crowds, clutter, and visual noise of the street level, offering a clean, graphic perspective of the event.
From a high vantage point, the entire nature of your photography changes. You are no longer just documenting a building; you are capturing the entire spectacle as a system of light. This is the ideal position to create one of the most iconic types of night photography: light trails. By mounting your camera on a tripod and using a very long exposure, the movement of cars, boats, and even people below blurs into vibrant streaks of color. This technique requires a tripod, a low ISO (100 or 200) to ensure a clean image, and a narrow aperture (f/16 or f/22) to increase the exposure time.
The creative potential is immense. As technical guides point out, using a high-rise position opens up advanced techniques; for instance, some of the most dramatic 25-second exposures at f/22 from elevated positions create stunning, abstract light patterns that are impossible to capture from the ground. So, while you may not be in the market for property, networking, asking for permission, or booking a hotel room with a view are all legitimate strategies for a photographer seeking to overcome the ultimate “restriction”: a ground-level view.
Shorts or Trousers: What to Wear in Sharjah vs Dubai?
For a photographer navigating a sprawling light festival, the choice between shorts and trousers transcends fashion or even simple cultural etiquette. It is a practical decision that impacts your gear management, comfort, and ability to get the shot. Your clothing becomes an extension of your camera bag. While respecting local customs is paramount, within that framework, the choice should be driven by functionality. Trousers, particularly those made from durable, flexible fabrics, are almost always the superior choice for a working photographer.
Consider the physical demands of the job. You will be kneeling on pavement for low-angle shots, navigating through crowds, and potentially walking for miles between venues. Your attire needs to withstand this. More importantly, it needs to serve your workflow. Look for trousers with multiple, secure pockets—preferably ones that zip or button closed. These become invaluable for stashing essentials you need at a moment’s notice:
- A spare battery
- An extra memory card
- A lens cap
- A lens cloth
Furthermore, choosing neutral, dark-colored clothing (black, grey, navy) helps you blend into the background. This makes you less of a distraction to others and allows for more candid, unobtrusive photography. Finally, remember that even in warm climates, temperatures can drop significantly after sunset. Layering is key. A lightweight jacket can be easily stored and deployed as the night wears on, ensuring your focus remains on the viewfinder, not on shivering.
Key takeaways
- Prioritize Sharpness Over Cleanliness: A sharp photo with controlled grain is always better than a clean but blurry one. Don’t be afraid to increase your ISO.
- Plan for the Light: Your route between venues should be a strategic timeline to maximize your time during the fleeting blue and golden hours.
- Master the Compromise: Every setting is a trade-off. For moving subjects, sacrifice low ISO for a fast, motion-freezing shutter speed. For static scenes, use a tripod and low ISO for maximum quality.
How to Teach Your Expat Kids About UAE Heritage Beyond School Books?
Beyond the pages of a textbook, the most profound way to connect children with their new home’s heritage is through direct, interactive experience. The light festival, with its modern interpretation of traditional art and history, offers a perfect living classroom. By placing a camera in your child’s hands, you transform them from a passive observer into an active creator. The act of photography encourages them to look closer, to notice details, and to frame the world in a way that builds personal connection and lasting memories.
This approach moves beyond the pressure of taking “good” photos and focuses on the process of discovery. A professional photographer’s workflow may not apply here, but the principle of intentionality does. The goal is to capture genuine moments of wonder, not technically perfect images. This is where a simple project can be incredibly effective.
Case Study: The Heritage Photo Scavenger Hunt
A proven project for engaging children is a “Heritage Scavenger Hunt.” Before visiting the festival, parents can create a simple visual checklist of cultural symbols they are likely to see in the projections or around the venues. This could include things like the Dallah (coffee pot), a ghutra pattern, or specific geometric star shapes. The child’s mission is not just to spot these items but to capture them with their camera. This gamifies the educational experience, turning a lesson in heritage into an exciting quest. As one family photography guide explains, “When children feel free, comfortable, and seen, the photos sparkle with real emotion.” The project’s success is measured not in the quality of the photos, but in the child’s enthusiastic engagement and the conversations that follow.
This method democratizes the art of photography, making it a tool for seeing rather than a technical discipline. It teaches kids that their perspective matters and that they can document their own relationship with the culture around them. It is a powerful way to teach heritage that is felt and experienced, not just memorized.
Now that you are equipped with the technical settings and artistic mindset, the next logical step is to go out and practice. The best way to internalize these concepts is to apply them in the field, experiment with the trade-offs, and find your own creative voice in the vibrant chaos of the light festival.